🔐 Get Started with Trezor: Your Ultimate Crypto Security Guide
Cryptocurrency offers freedom, privacy, and control—but with that comes the responsibility of protecting your digital assets. If you've just unboxed a Trezor hardware wallet, or you're planning to, your first stop should be trezor.io/start. This is where your journey to bulletproof crypto security begins.
Whether you're a seasoned investor or a first-time holder, this guide will walk you through the essential steps at trezor.io/start, explain why Trezor is one of the most trusted names in crypto security, and provide valuable tips to keep your funds safe.
🧭 What is Trezor.io/Start?
trezor.io/start is the official onboarding portal for setting up your Trezor device—whether it’s the Trezor Model One or the more advanced Trezor Model T. It’s the safest way to download the required software, install firmware, and start managing your digital assets securely.
When you visit this page, you’ll be guided through the following:
- Installing Trezor Suite (desktop or web)
- Setting up your new device
- Creating or restoring a wallet
- Understanding your recovery seed
- Managing crypto assets securely
📦 Step 1: Unbox and Verify Your Device
Before plugging anything in, inspect your Trezor device. Make sure:
- The holographic seal is intact and untampered.
- The packaging is original and unbroken.
- The device hasn’t been used or initialized.
If anything looks off, do not use the device and contact Trezor support.
Trezor devices are never pre-configured, and the setup is always completed by you.
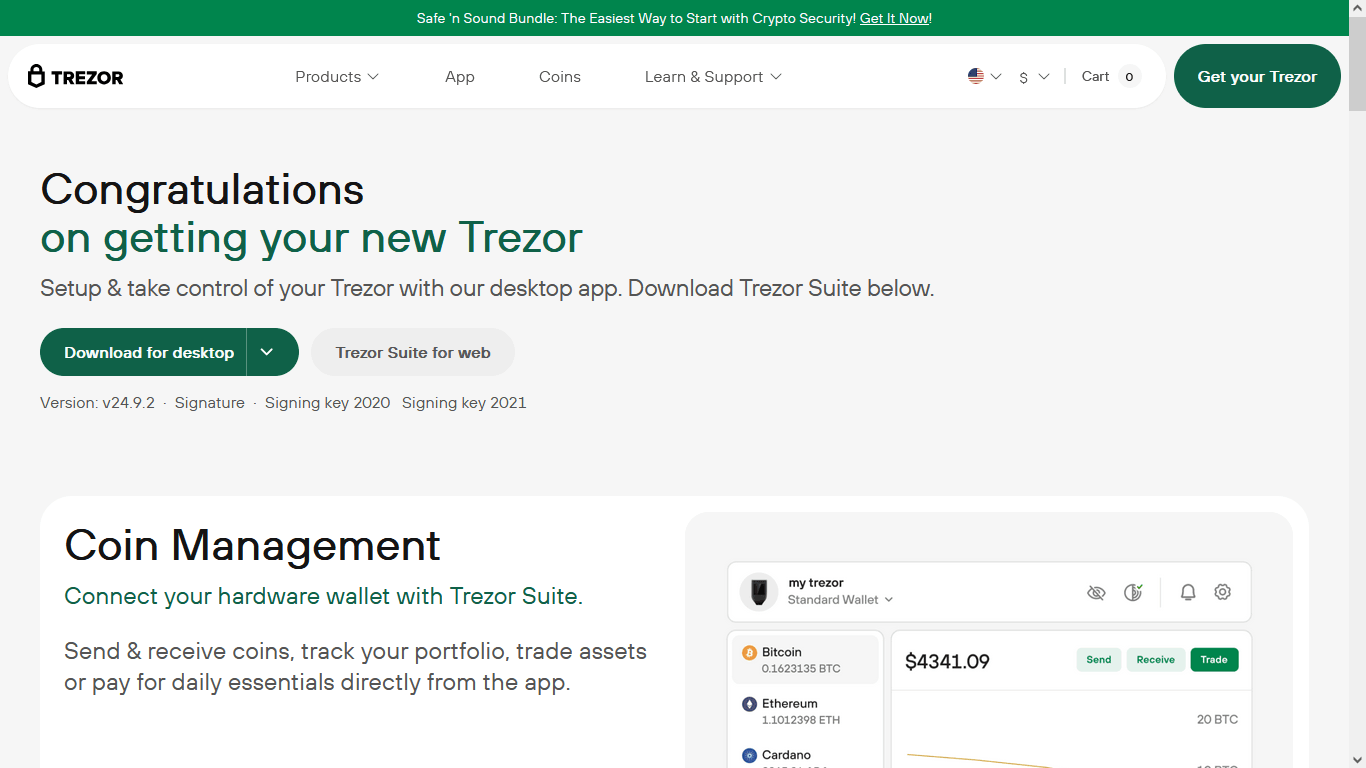
💾 Step 2: Download Trezor Suite
Go to trezor.io/start and you’ll be prompted to install Trezor Suite. This is the official app that lets you:
- Send and receive cryptocurrencies
- Check your balance
- Manage multiple accounts
- Access advanced security settings
Trezor Suite is available for Windows, macOS, and Linux. There’s also a web version, but the desktop version is recommended for security reasons.
⚠️ Important: Never download software from unofficial websites. Only trust links from trezor.io.
🛠 Step 3: Connect and Install Firmware
Once Trezor Suite is installed:
- Plug your Trezor device into your computer via USB.
- If this is your first use, you’ll be prompted to install the latest firmware. This ensures your device runs the latest security protocols.
- Follow the on-screen instructions carefully.
After the firmware is installed, your device will reboot and prompt you to continue setup.
🔐 Step 4: Create Your Wallet
You’ll be given two options:
- Create a new wallet
- Recover a wallet from a recovery seed
Choose "Create New Wallet" if this is your first time. Once you do, Trezor will generate a unique recovery seed—a set of 12, 18, or 24 words that acts as the backup to your crypto wallet.
✍️ Write Down Your Recovery Seed
- Write the seed words on the recovery card provided in the box.
- Store it offline in a safe place. Never take a photo or save it digitally.
- If you lose your seed, you lose access to your crypto. There is no "forgot password" in crypto.
🛑 Never share your recovery seed with anyone. No legitimate service will ever ask for it.
💼 Step 5: Start Using Your Trezor
Congratulations! Your device is now ready to use. You can:
- Add cryptocurrency accounts (BTC, ETH, LTC, and hundreds more)
- Send and receive transactions
- Label transactions
- Set up passphrases for additional protection
Trezor supports thousands of coins and tokens, with more added regularly through software updates.
🧠 Pro Tips for Better Security
Even though Trezor provides top-tier security, here are a few tips to further protect your assets:
🪪 Use a Passphrase
An optional passphrase adds an extra layer of security. Even if someone gets your recovery seed, they can't access your funds without the passphrase.
🌐 Stay Offline When Possible
Avoid using your recovery seed on any internet-connected device. Only use it on your Trezor device as instructed.
🔍 Verify Addresses on the Device
Always verify receiving addresses on your Trezor screen before confirming. Hackers can manipulate addresses on your computer screen.
🧑💻 Beware of Phishing
Trezor will never ask you for your recovery seed via email or phone. Double-check URLs and don’t click suspicious links.
🧳 What If You Lose Your Trezor?
If your Trezor is lost, stolen, or damaged, you can recover your entire wallet using your recovery seed. Just buy a new Trezor, go to trezor.io/start, and choose "Recover wallet."
No one else can access your wallet without that seed. That’s why safeguarding it is your top priority.
📈 Why Choose Trezor?
Trezor was created by SatoshiLabs in 2014, and it was the first hardware wallet ever made. Its key advantages include:
- Open-source software
- Transparent security practices
- User-friendly interface
- Advanced features for power users
Unlike centralized exchanges or hot wallets, Trezor gives you full custody of your assets—eliminating risks from hacks or custodial mismanagement.
✅ Final Thoughts
If you’re serious about crypto, a hardware wallet like Trezor isn’t just an option—it’s a necessity. By starting at trezor.io/start, you're ensuring that your journey begins with authentic, secure software and best practices.
The crypto world can be chaotic, but your security doesn’t have to be. With your Trezor device and the right habits, you’re in full control of your digital wealth.
So take a deep breath, plug in that Trezor, and let trezor.io/start be your gateway to secure crypto ownership.